
Ghost.blog connects directly to your WordPress site so it can publish AI-generated articles for you on a schedule you control. You set up your brand once; Ghost.blog handles the rest: drafting, illustrating, and posting through the WordPress REST API.
This guide walks you through everything: how to connect, how to configure what gets published, how to feed the AI inspiration via RSS, and what actually happens when a post goes live on your site.
What the integration does
Once connected, Ghost.blog can:
✅ Publish AI-generated articles straight into your WordPress site as either drafts or live posts.
✅ Run on a schedule - define how many posts per day, at what times, and in what timezone.
✅ Pull inspiration from RSS feeds - point the AI at sources your audience already reads, and it uses them as context when drafting.
✅ Match your brand voice - every post inherits your brand profile (tone, audience, voice, color palette for illustrations).
✅ Fine-tune output - word-count range, readability target, FAQ blocks, tables, charts, inline images, and internal/external linking, all configurable per site.
✅ Support multiple WordPress sites under a single team, each with its own settings.
Before you start
You'll need:
• A self-hosted WordPress site or any WordPress install with the REST API exposed at /wp-json/wp/v2.
• A WordPress user with permission to publish posts (Editor or Administrator).
• A WordPress Application Password - Ghost.blog never asks for your real WordPress login password. Application Passwords are scoped, revocable credentials WordPress generates specifically for API access.
Step 1 - Generate a WordPress Application Password
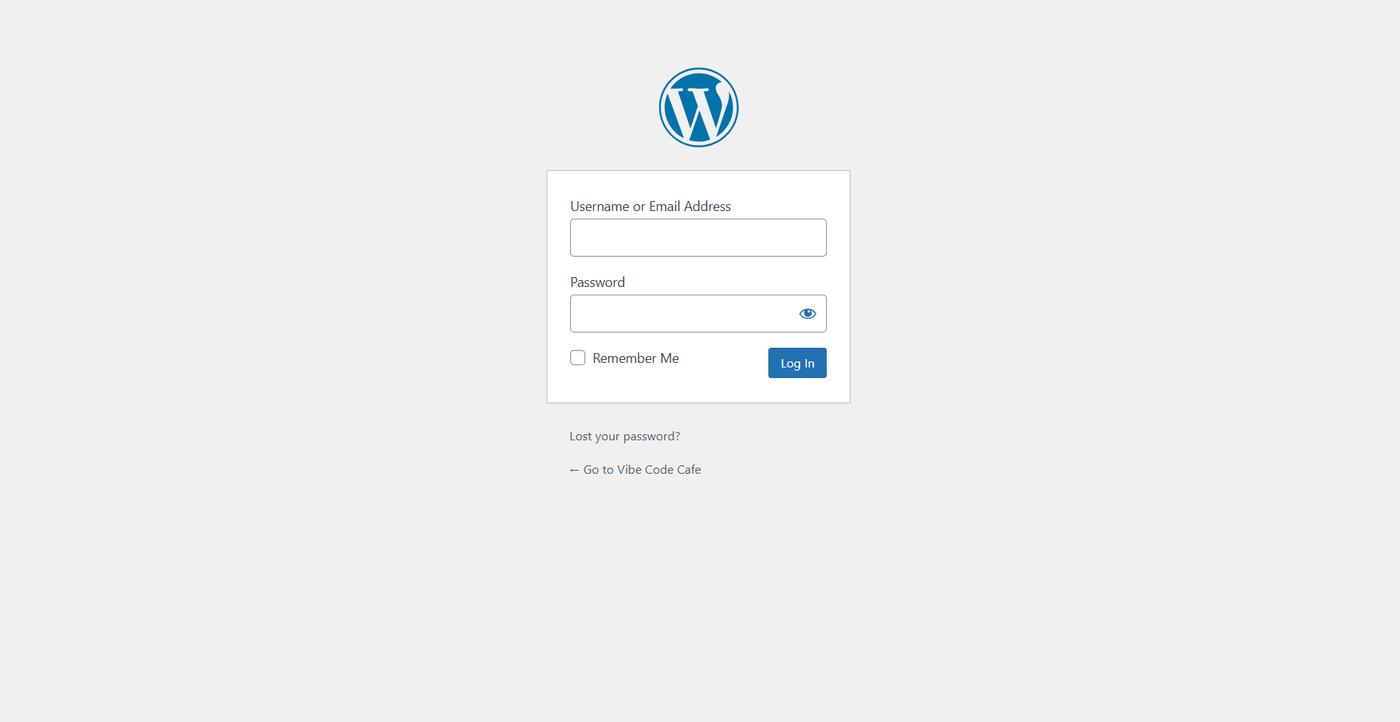
1. Go to your wordpress site
2. Log into WordPress, its usually at the url /wp-admin
Eg: https://mywebsite.com/wp-admin
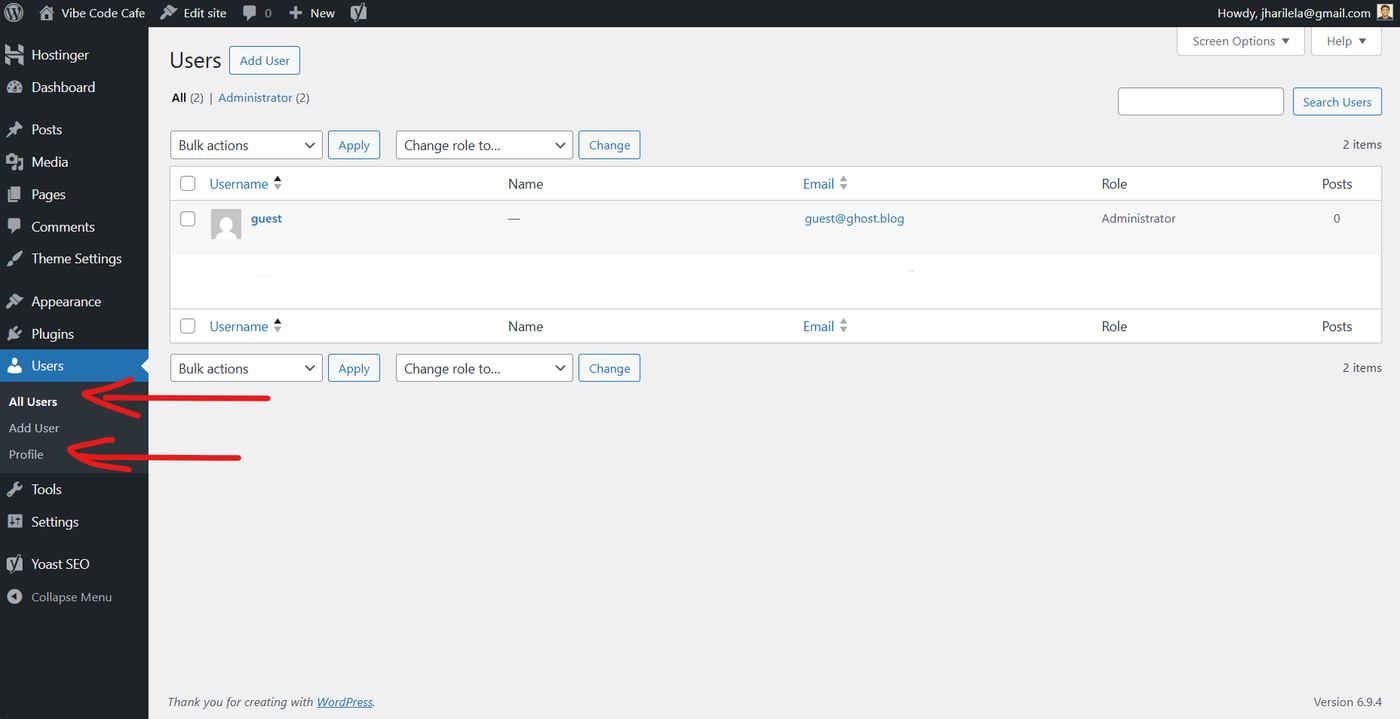
3. Go to Users → Profile
If you are an admin, go to Users → All Users → your user.
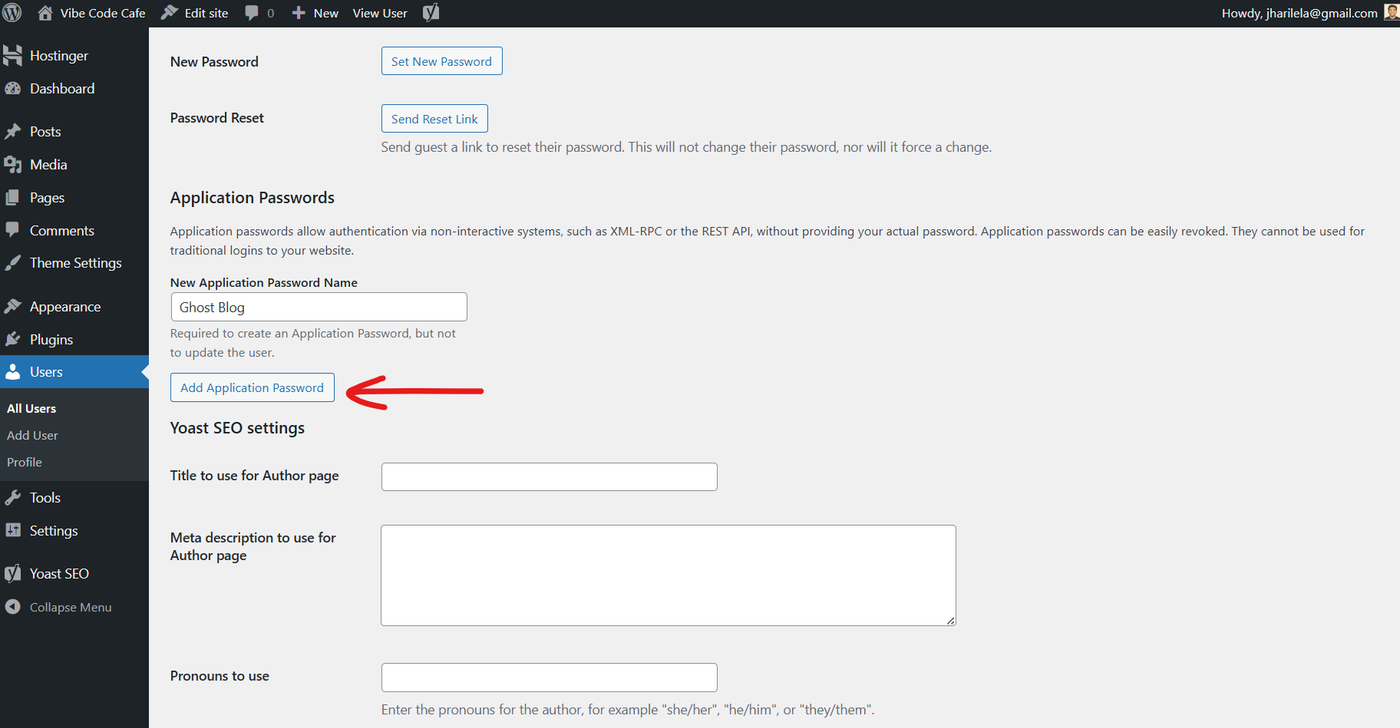
4. Scroll to the Application Passwords section.
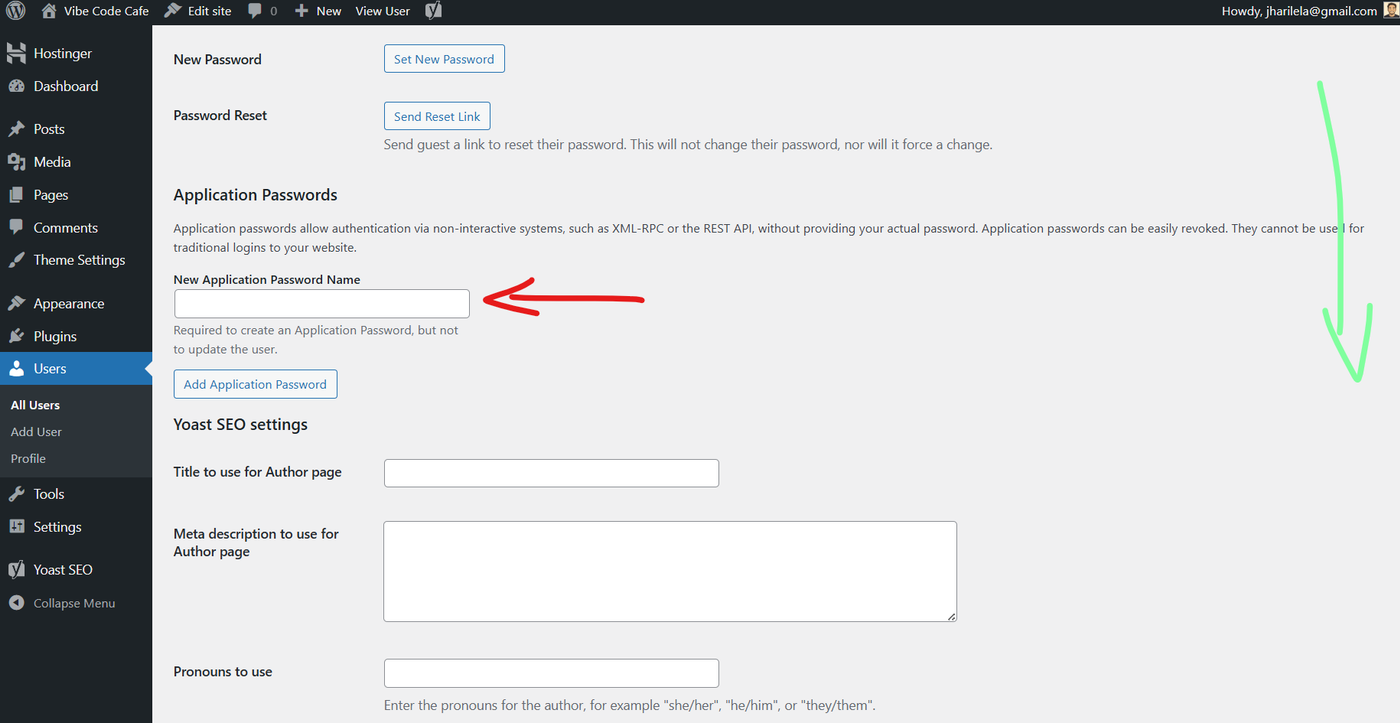
5. In the New Application Password Name field, type something like "Ghost Blog".
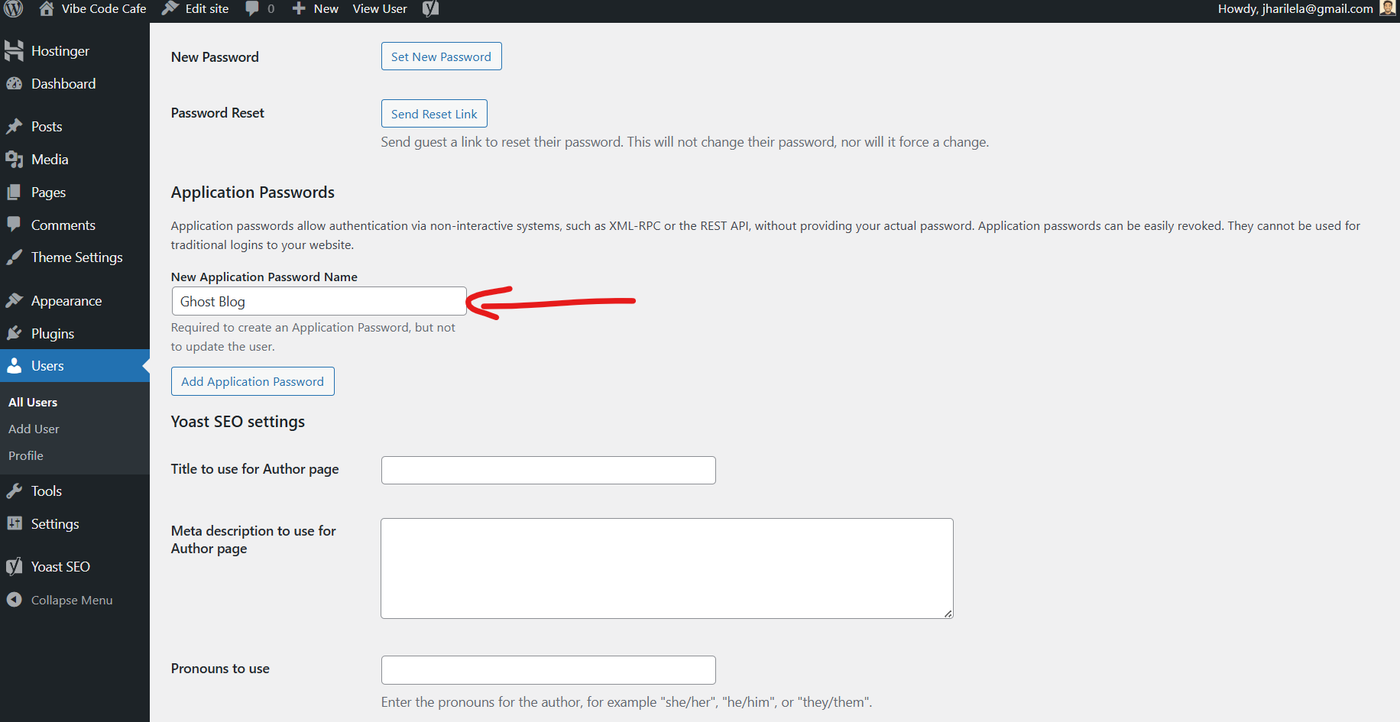
6. Click Add New Application Password.
7. WordPress shows you a 24-character password. Copy it now — WordPress only displays it once.
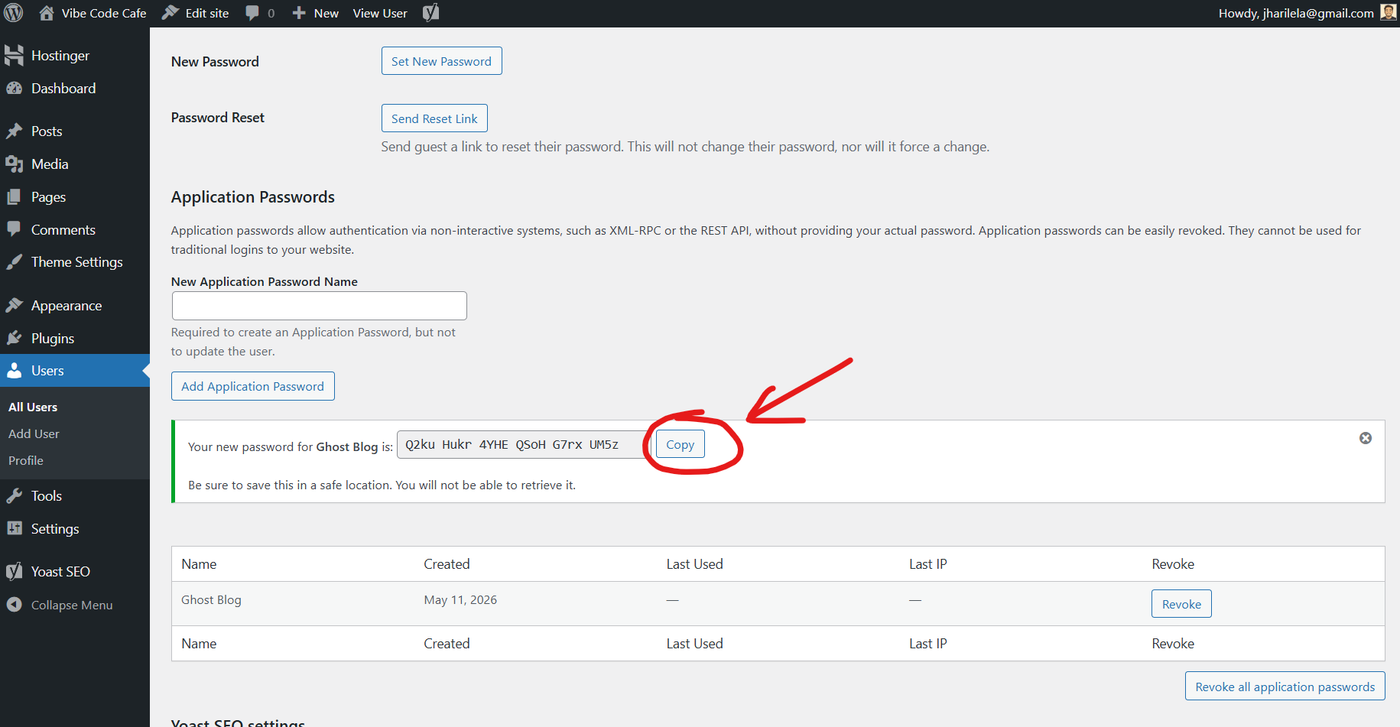
If you don't see the Application Passwords section, your host or a security plugin may have disabled the WordPress REST API. Re-enable it before continuing.
8.Log in to your Ghost.blog account.
Ghost.blog - Streamline Your WordPress Content Management
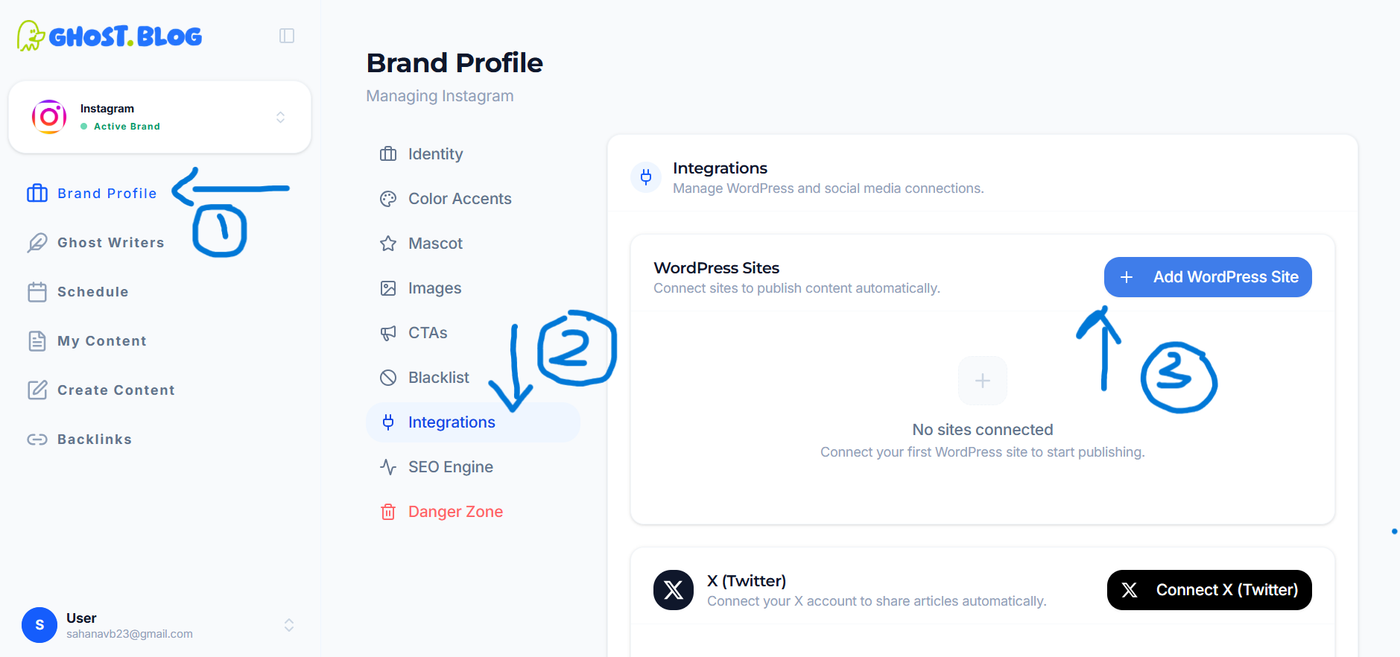
- Open Brand Profile from the left sidebar.
- Click Integrations.
- Click + Add WordPress Site.
- Fill the Details. Click Connect site
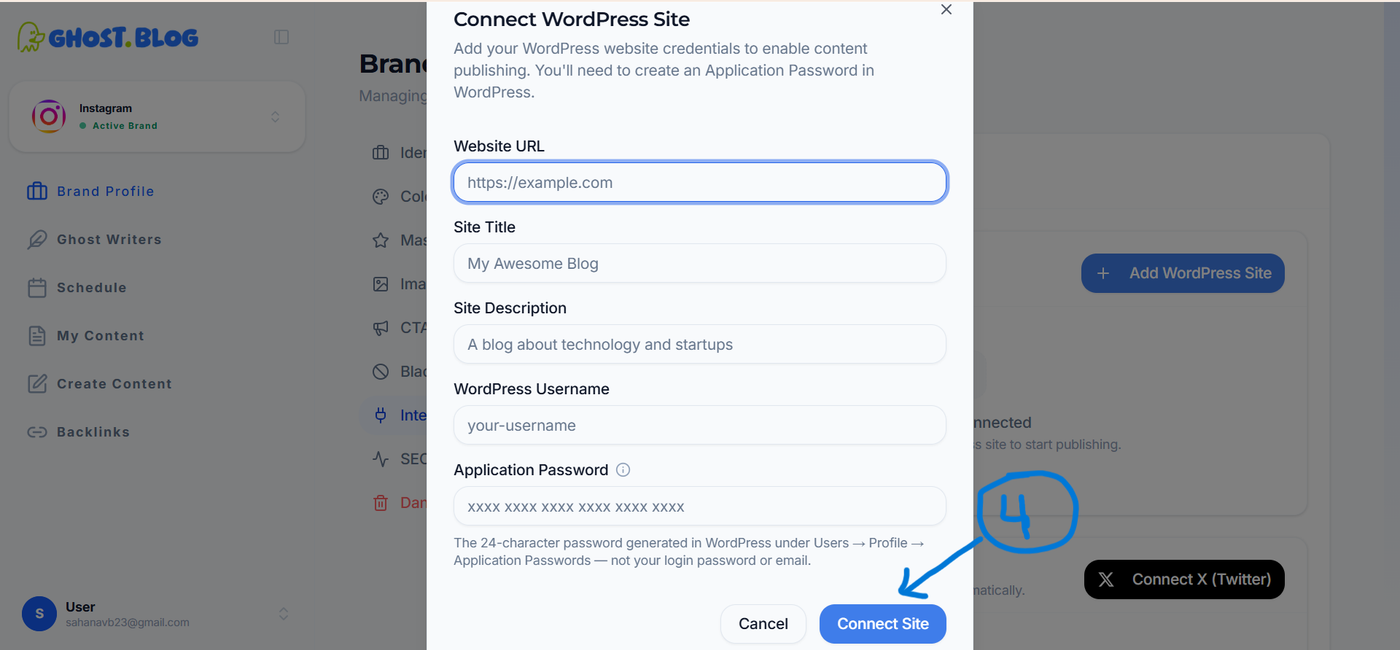
Shows a popup as Connected.
Step 2 – Install and Connect the Ghost.blog Plugin
- Log in to your WordPress Admin Dashboard.
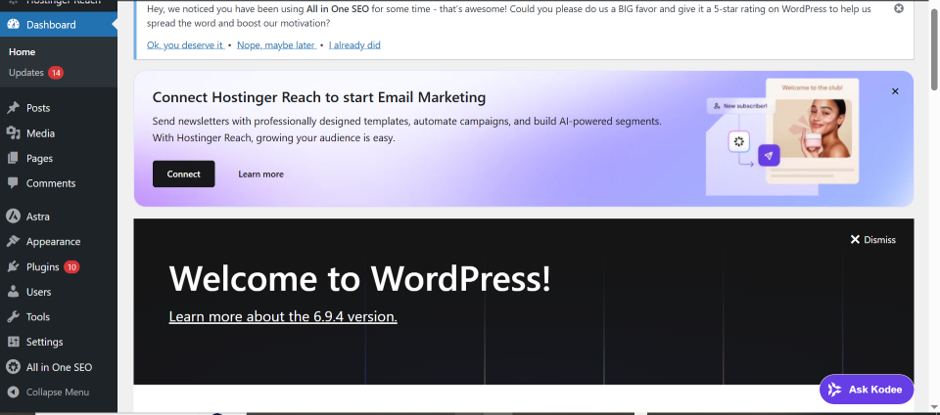
- Go to Plugins → Add New.
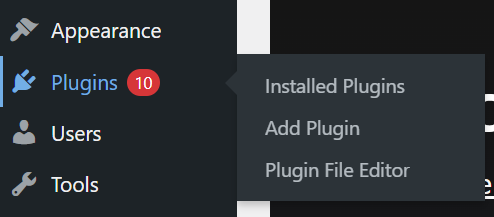
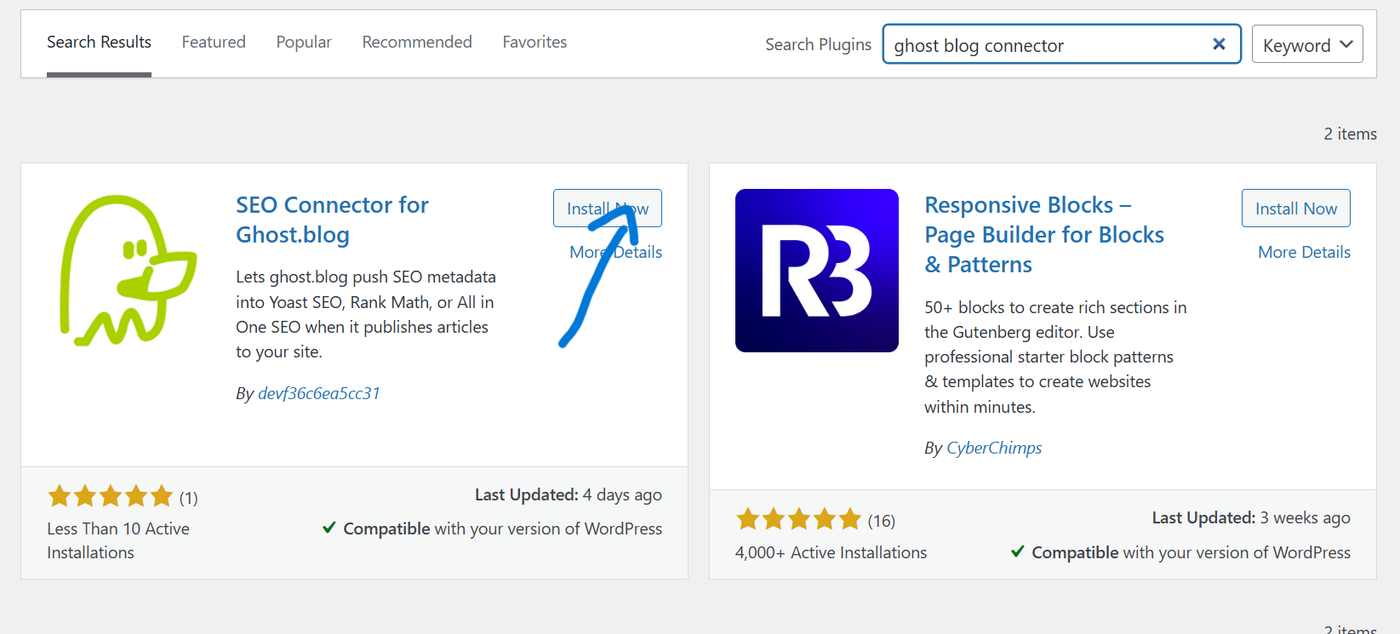
- In the search bar, search for Ghost blog Connector
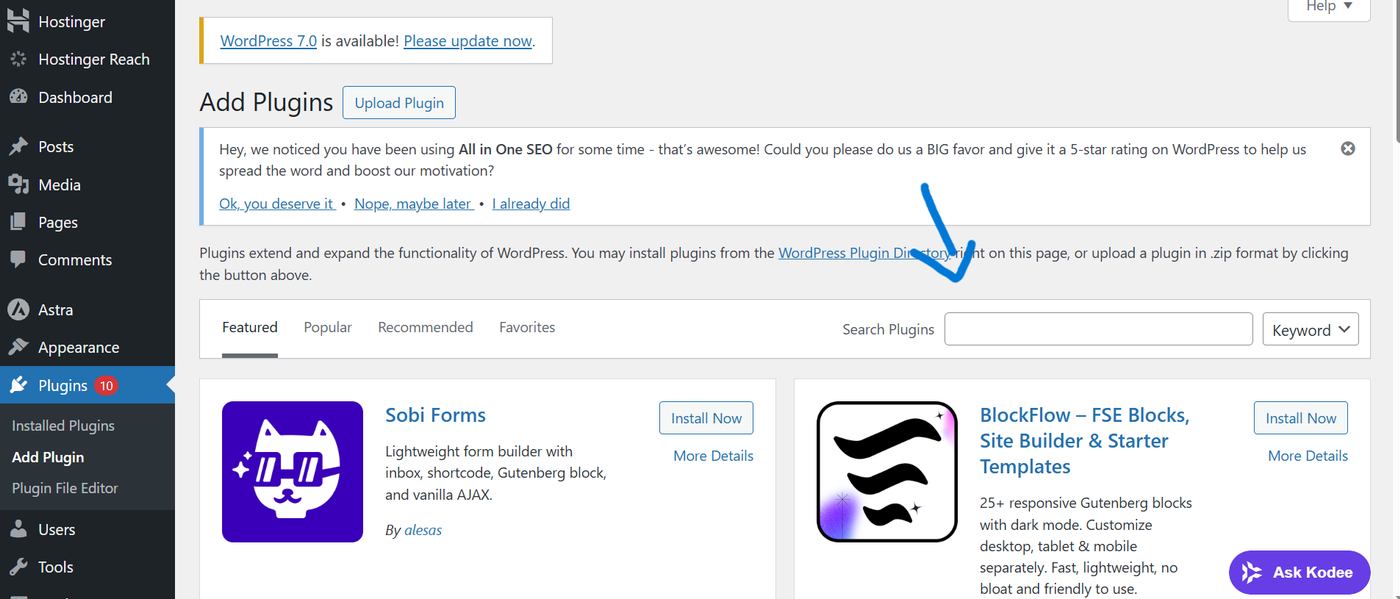
- Locate the Ghost blog Connector plugin and click Install Now.
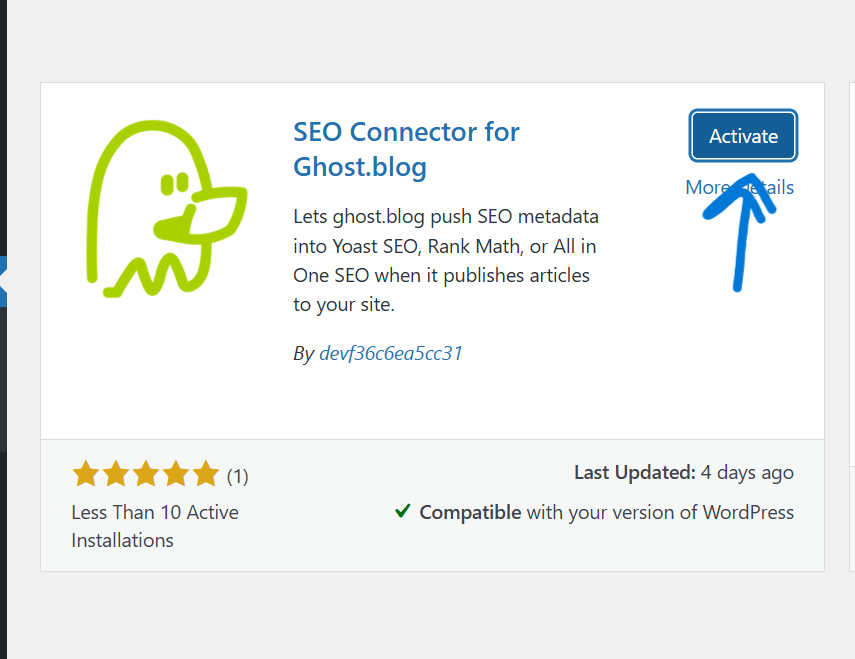
- Once the installation is complete, click Activate.
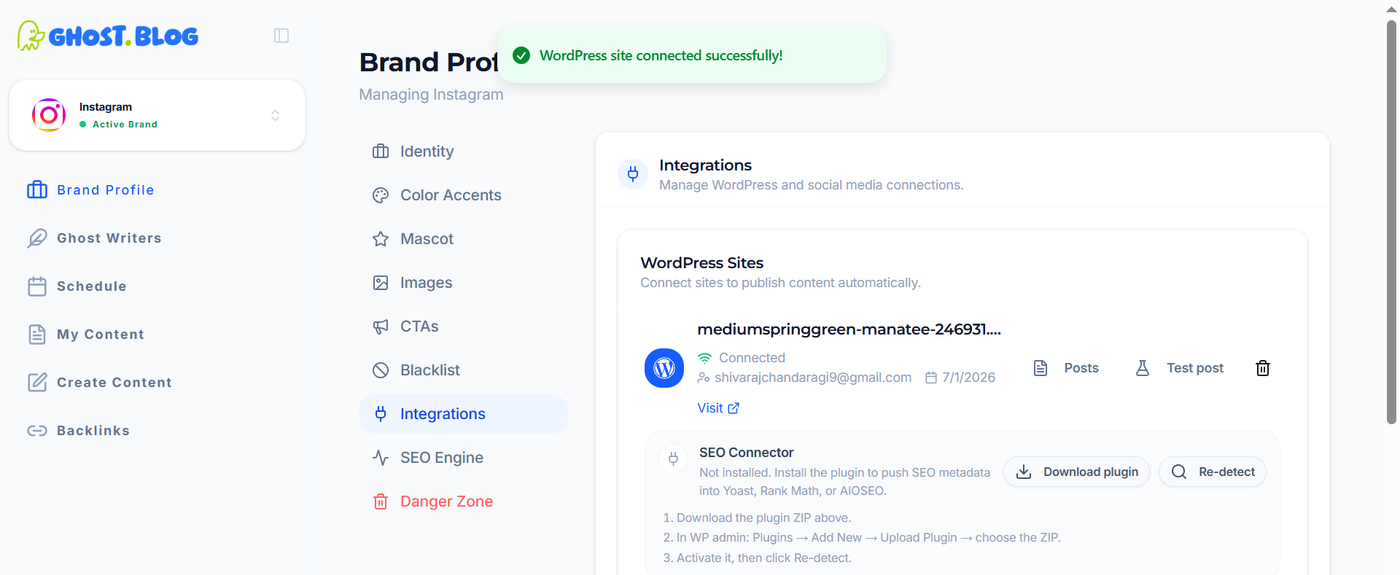
6. Detect Your WordPress Site in Ghost.blog
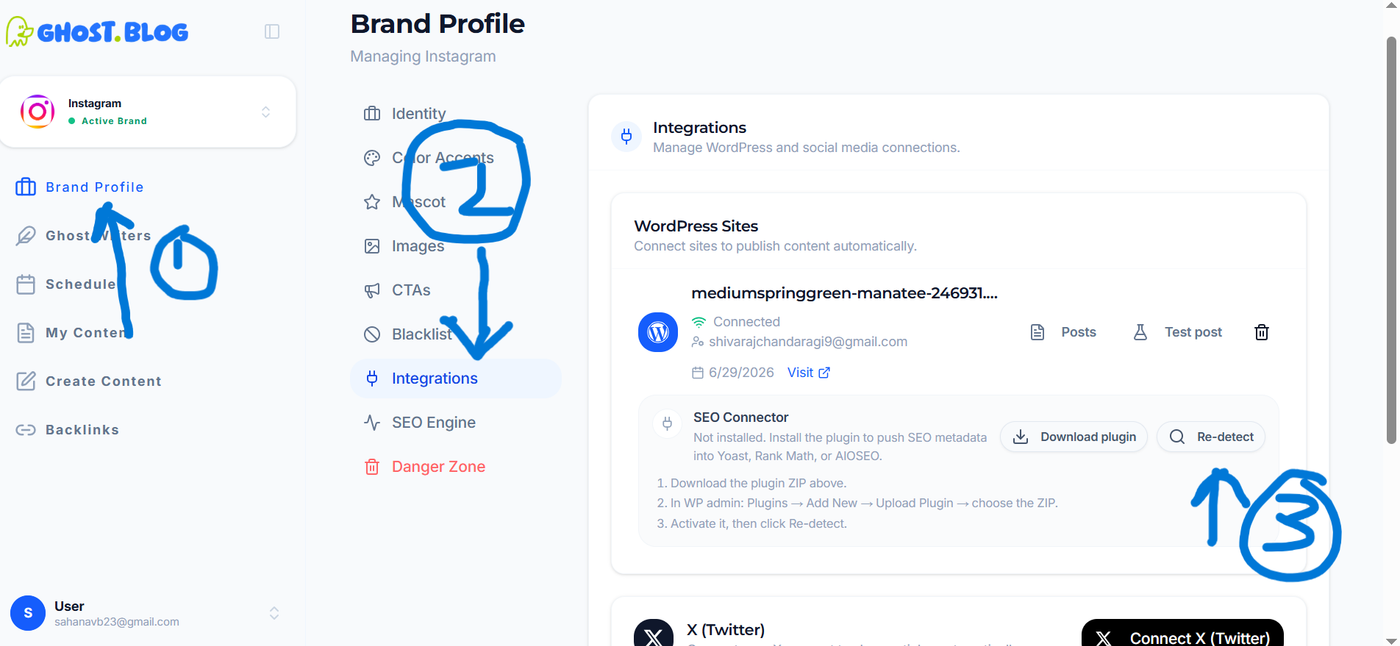
- Return to your Ghost.blog account and open Brand Profile.
- Click Integrations from the left sidebar.
- Under WordPress Sites, locate the website you just connected.
- Click Re-detect to let Ghost.blog verify the plugin installation and refresh the connection.
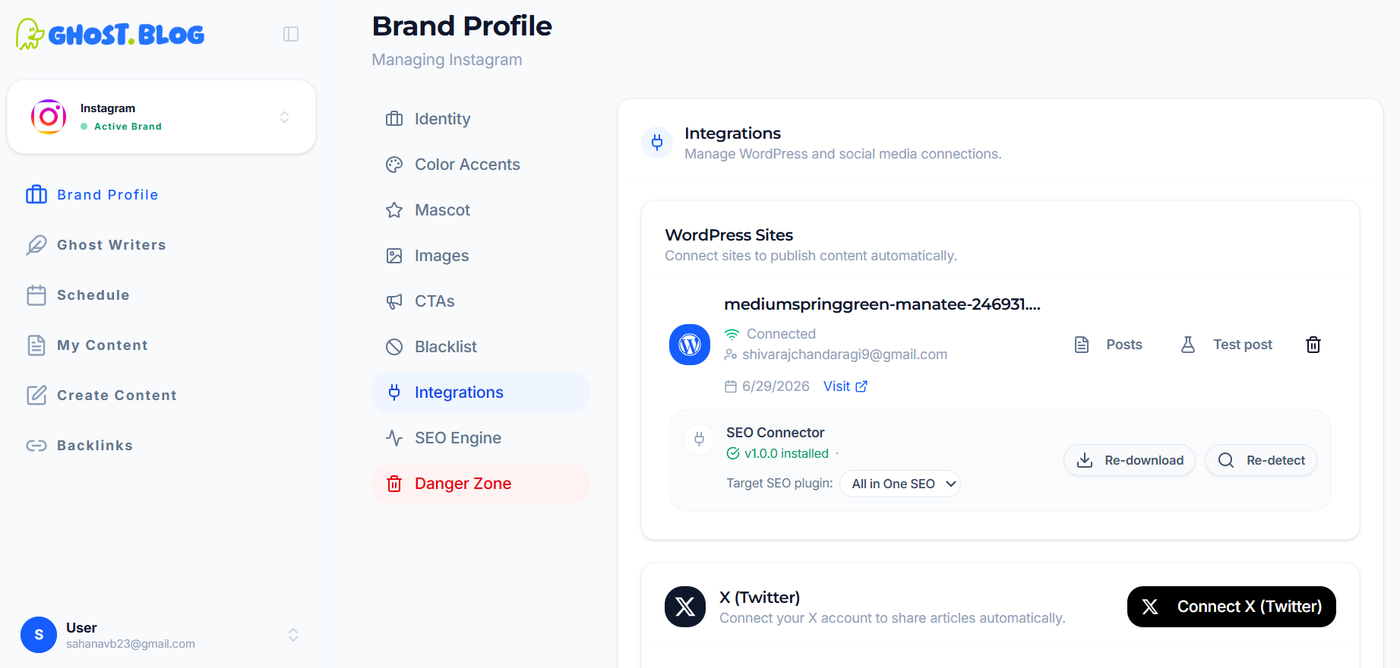
- Once the detection is successful, the integration status will update and your WordPress site will be ready for publishing and SEO synchronization.
.
Step 3 - How to configure the Brand Profile
Before generating articles, configure your Brand Profile so Ghost.blog understands your brand, writing style, colors, images, and what content to avoid.
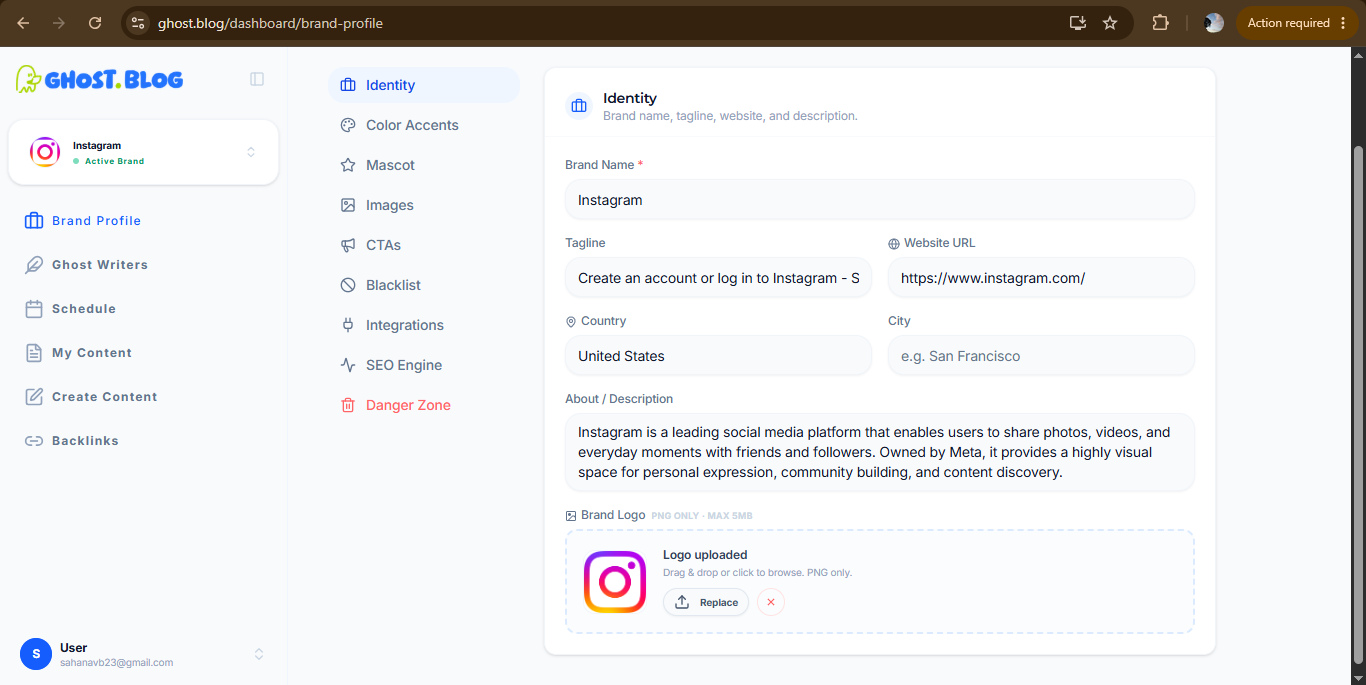
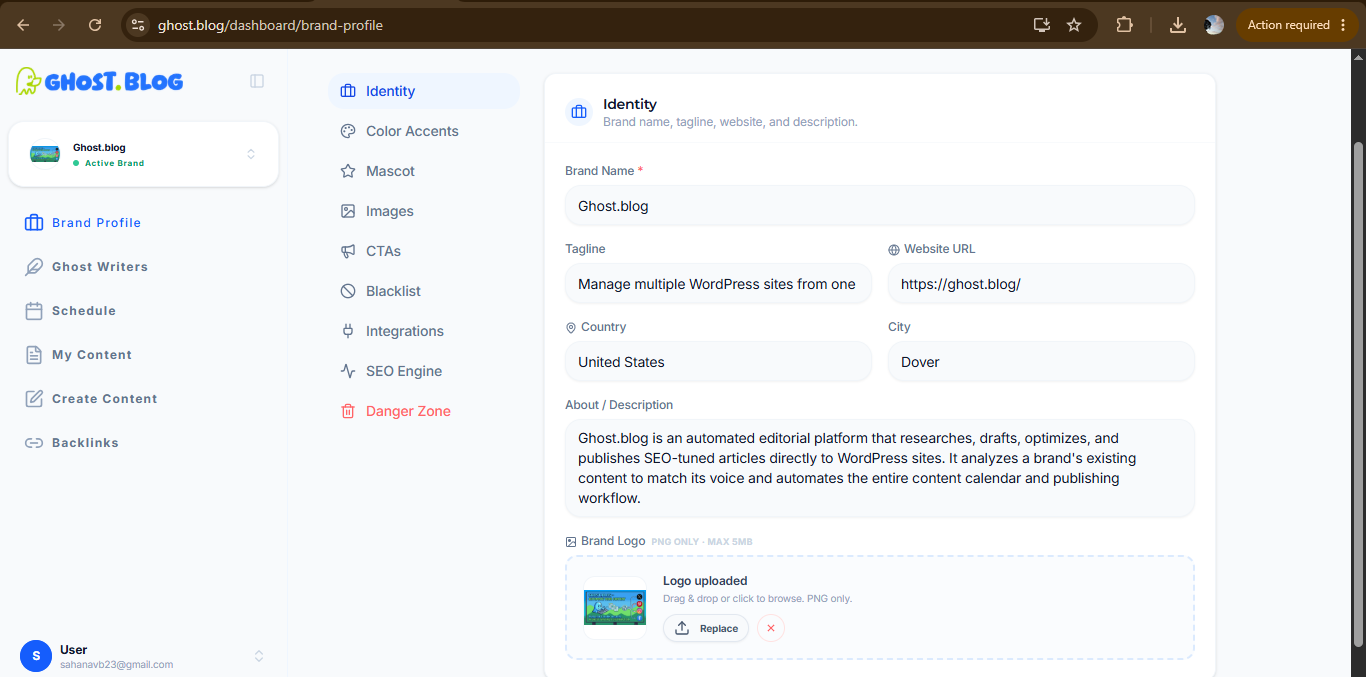
- Configure Identity
Go to:
Brand Profile → Identity
Fill in the following details:
- Brand Name
- Enter your company or website name.
- Tagline
- Add a short description of your brand.
- Website URL
- Enter your official website.
- Country & City
- Select your business location.
- About / Description
- Write a brief description explaining what your brand does, who your audience is, and your niche.
- Brand Logo
- Upload your company logo.
This information helps Ghost.blog understand your brand and generate content that matches your identity.
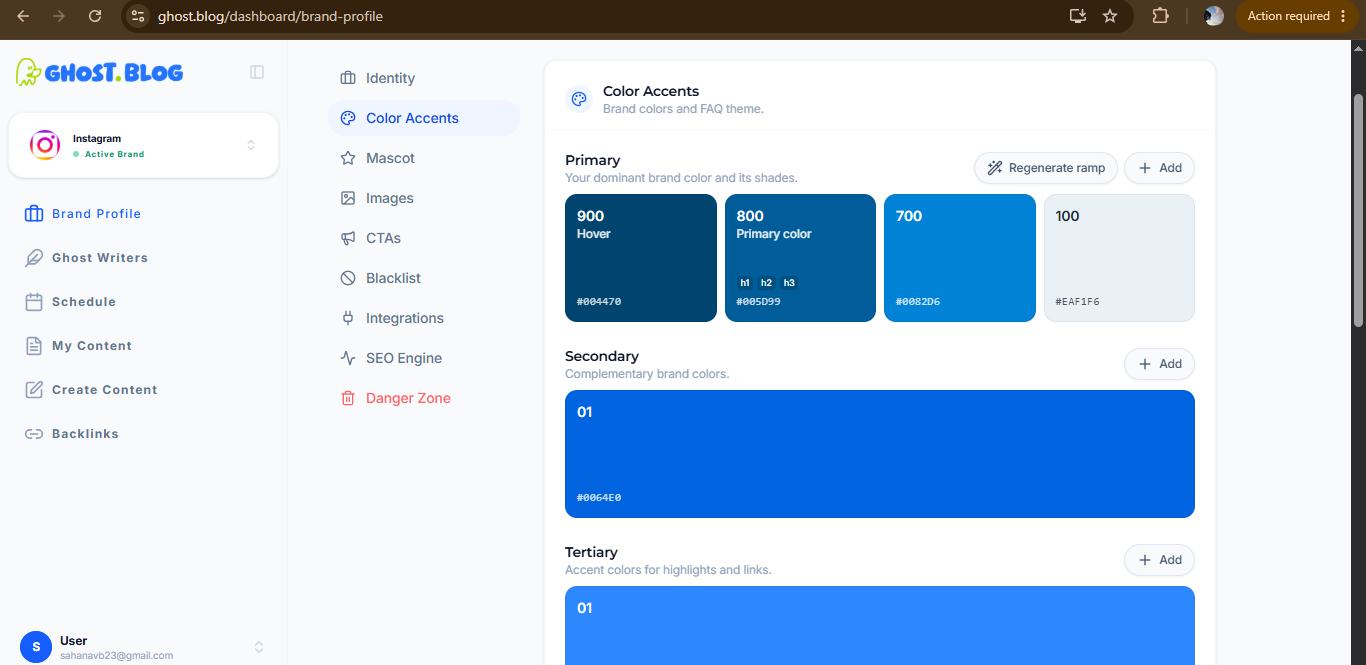
2. Configure Brand Colors
Go to:
Brand Profile → Color Accents
Here you can define your brand colors.
Configure:
- Primary Color
- Main brand color used throughout the content.
- Secondary Color
- Supporting brand color.
- Tertiary Color
- Accent color for highlights and links.
You can:
- Add colors manually using HEX codes.
- Click Regenerate Ramp to automatically create matching shades.
Using your official brand colors keeps generated images and graphics visually consistent.
Step 3: Configure Mascot
Go to:
Brand Profile → Mascot
If your brand uses a mascot or recurring character:
- Upload the mascot image (if available).
- Describe its appearance, personality, clothing, colors, and style.
Example:
Friendly blue robot with white accents that represents AI automation. Modern, professional, and approachable.
If your brand doesn't use a mascot, you can skip this section.
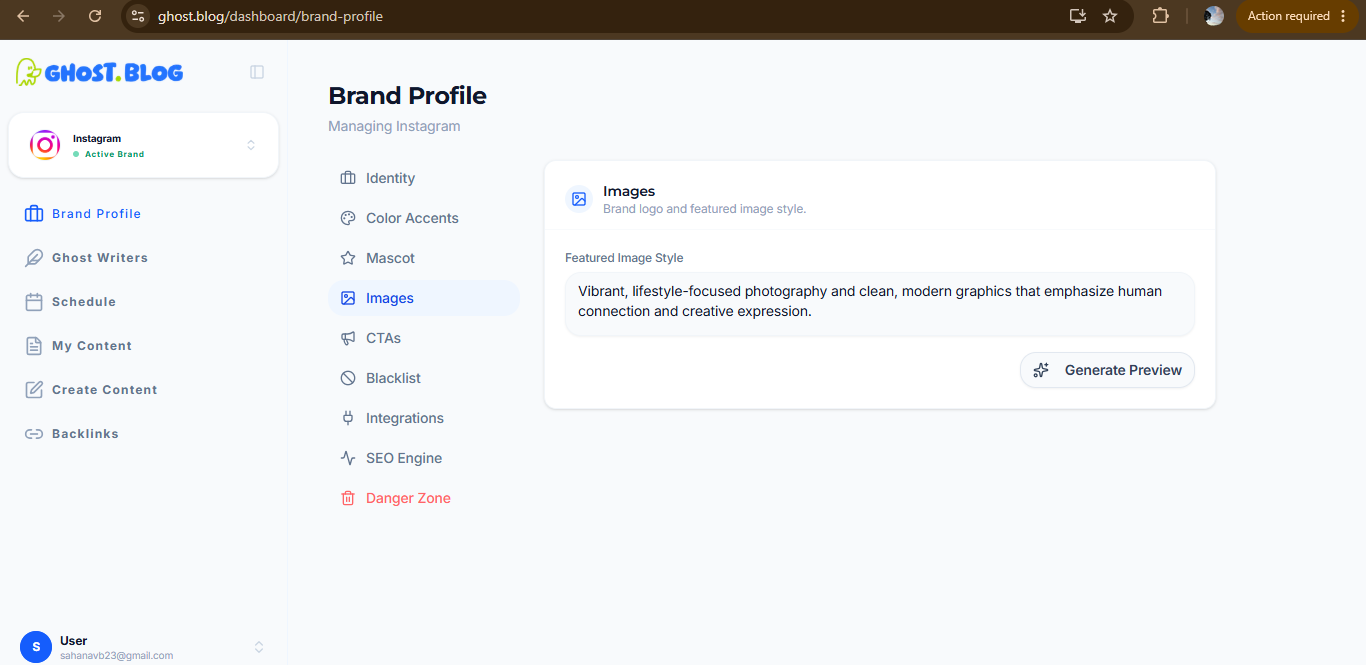
Step 4: Configure Images
Go to:
Brand Profile → Images
In Featured Image Style, describe how AI should generate article images.
Example prompt:
"Create vibrant, modern lifestyle photography with clean compositions, natural lighting, realistic people, minimal backgrounds, and a professional brand aesthetic. Use high-quality visuals that match the brand colors and avoid excessive text in images."
After entering the prompt, click:
Generate Preview
Review the preview and update the prompt until the image style matches your brand.
This ensures all generated featured images have a consistent appearance.
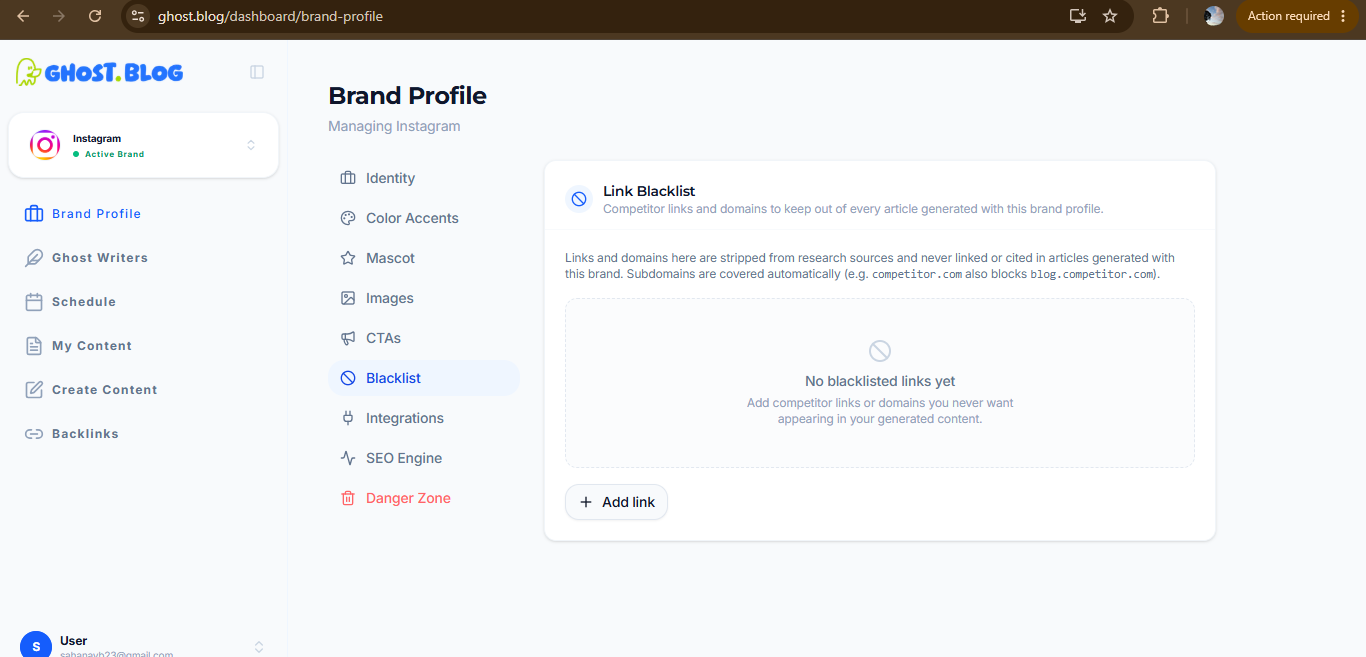
Step 5: Configure the Blacklist
Brand Profile → Blacklist
This section tells Ghost.blog what content and links should not appear in generated articles.
Click:
Add Link
Add competitor websites or domains that should never be referenced.
Examples:
- competitor1.com
- competitor2.com
- competitor3.com
The blacklist prevents Ghost.blog from:
- Mentioning competitors.
- Linking to competitor websites.
- Using competitor sources in generated articles.
This helps keep your content focused on your own brand rather than promoting competing businesses.
Step 4 - Add RSS sources for inspiration
RSS sources are how you teach the AI what's current in your niche without it making things up.
1. From the left sidebar, click Ghost Writer.
Select Sources.
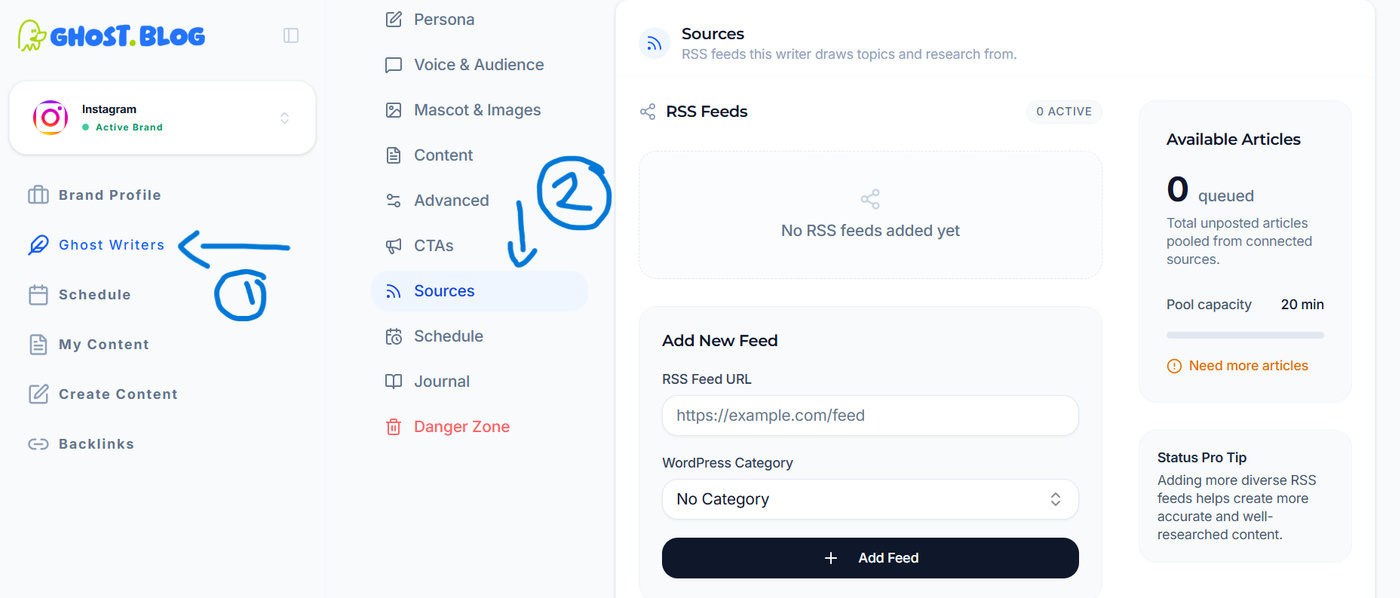
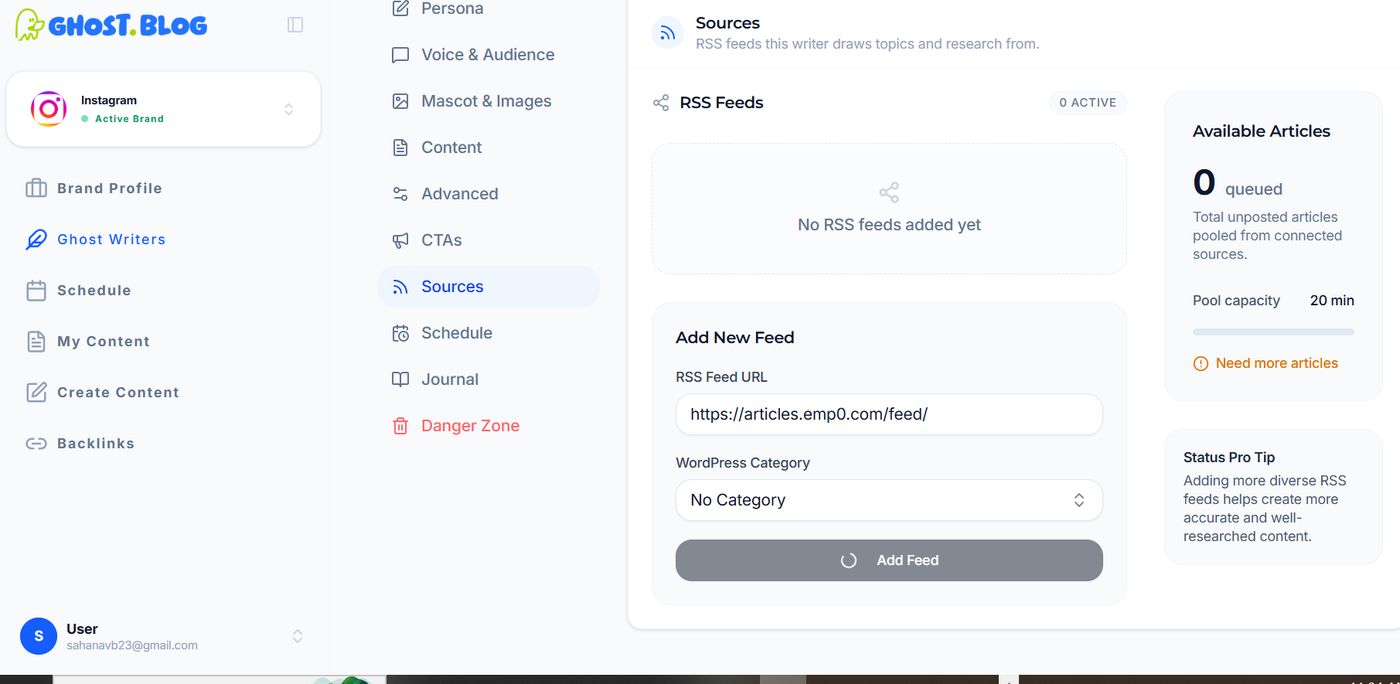
2.Paste a feed URL , Select Wordpress category and Click Add Feed
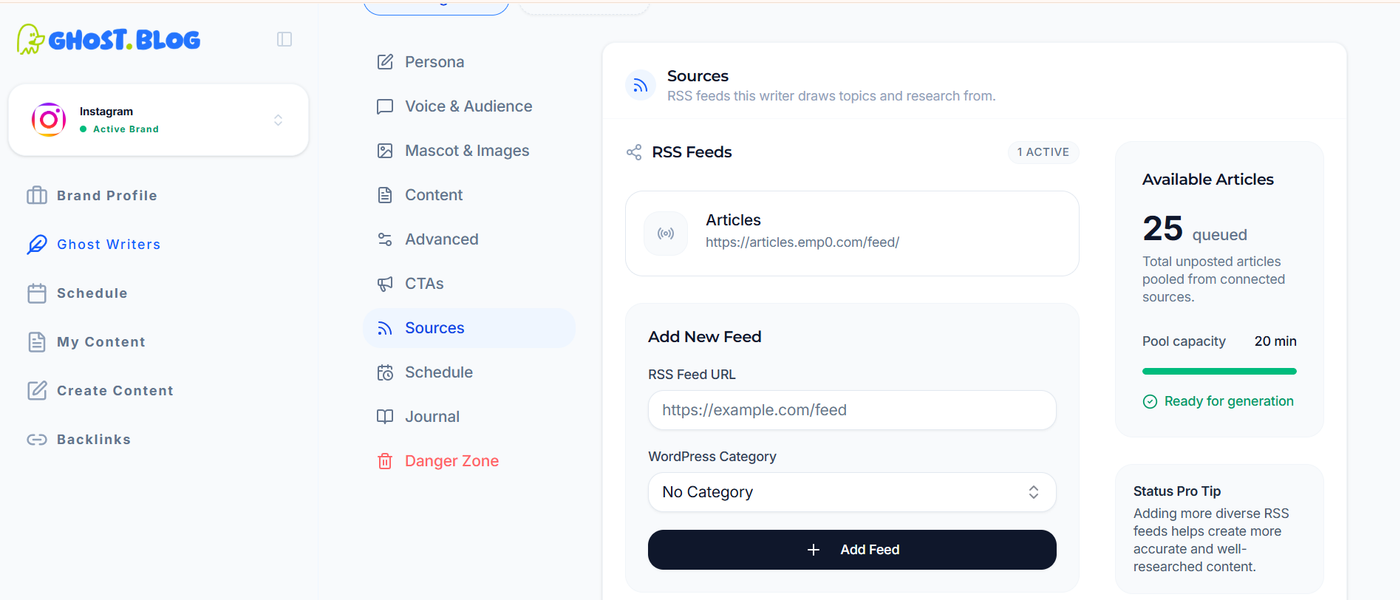
3. Once the feed is added, it will appear under RSS Feeds and begin syncing articles automatically.
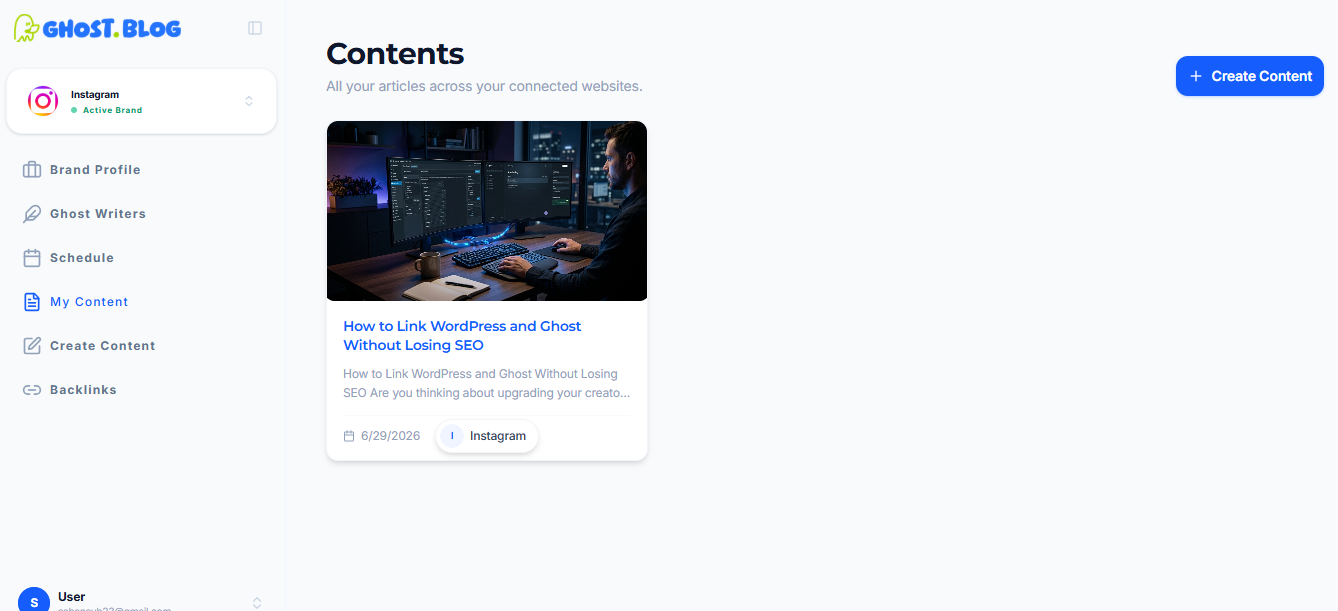
you can view all AI-generated articles in the My Content section.
Navigate to:
My Content
This page displays all content generated by Ghost.blog for your configured brands.
The generated articles are created using:
- Your Ghost Writer configuration (persona, voice, and audience)
- Brand Profile settings
- Configured RSS feeds and approved sources
- Content brief and keywords (if provided)
- Image generation settings
- CTAs
- Blacklist rules
Ghost.blog periodically fetches each feed, stores fresh articles, and passes them as context when generating new posts. The AI uses them for inspiration and reference — it does not republish RSS items.
Step 5: Schedule Automatic Content Generation
After completing the Brand Profile and Ghost Writer configuration, you can schedule Ghost.blog to automatically generate articles.
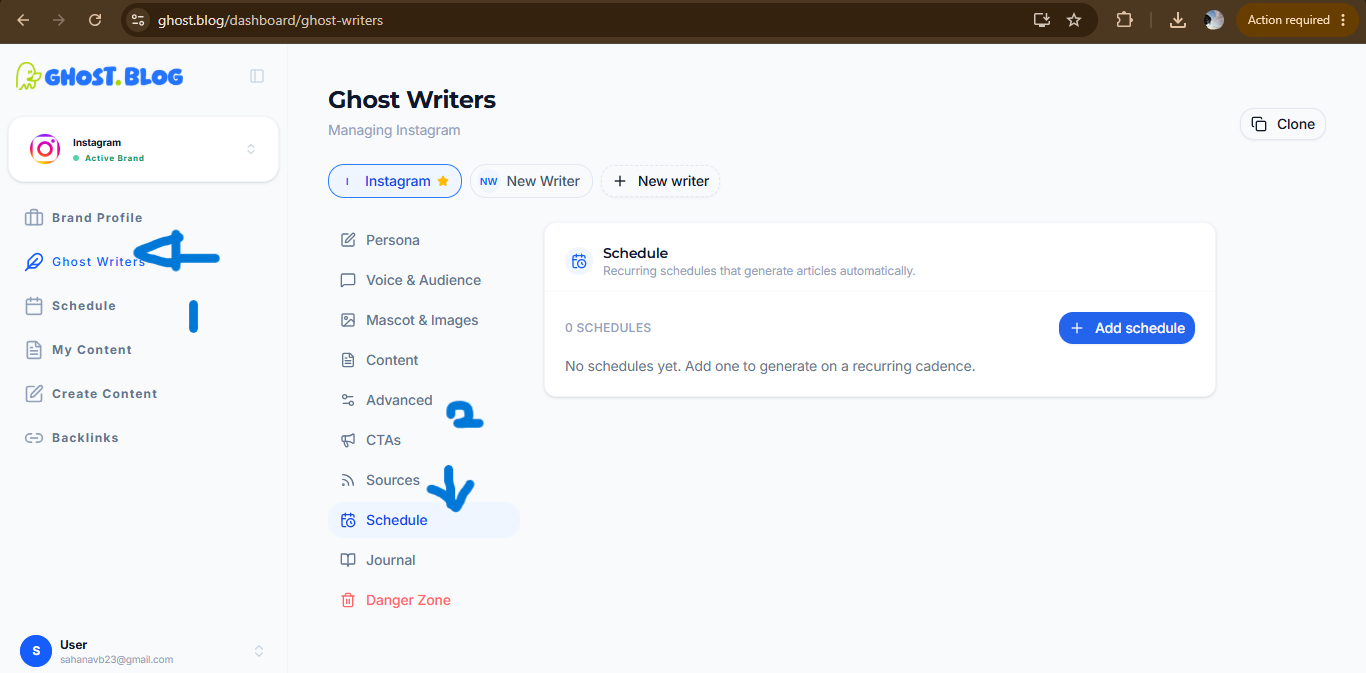
Go to:
Ghost Writers → Schedule
Click:
+ Add Schedule
The Custom Recurrence window will appear. Configure the following settings:
Schedule Details
- Name – Enter a descriptive name for the schedule (e.g., Instagram Weekly Content).
- Repeat Every – Specify how frequently articles should be generated (e.g., every 1 week, every 2 days, or every month).
- Repeat On – Select the day(s) of the week when the schedule should run.
- Time – Choose the time for automatic content generation.
- Timezone – Select the appropriate timezone.
- Starts – Choose the date when the schedule should begin.
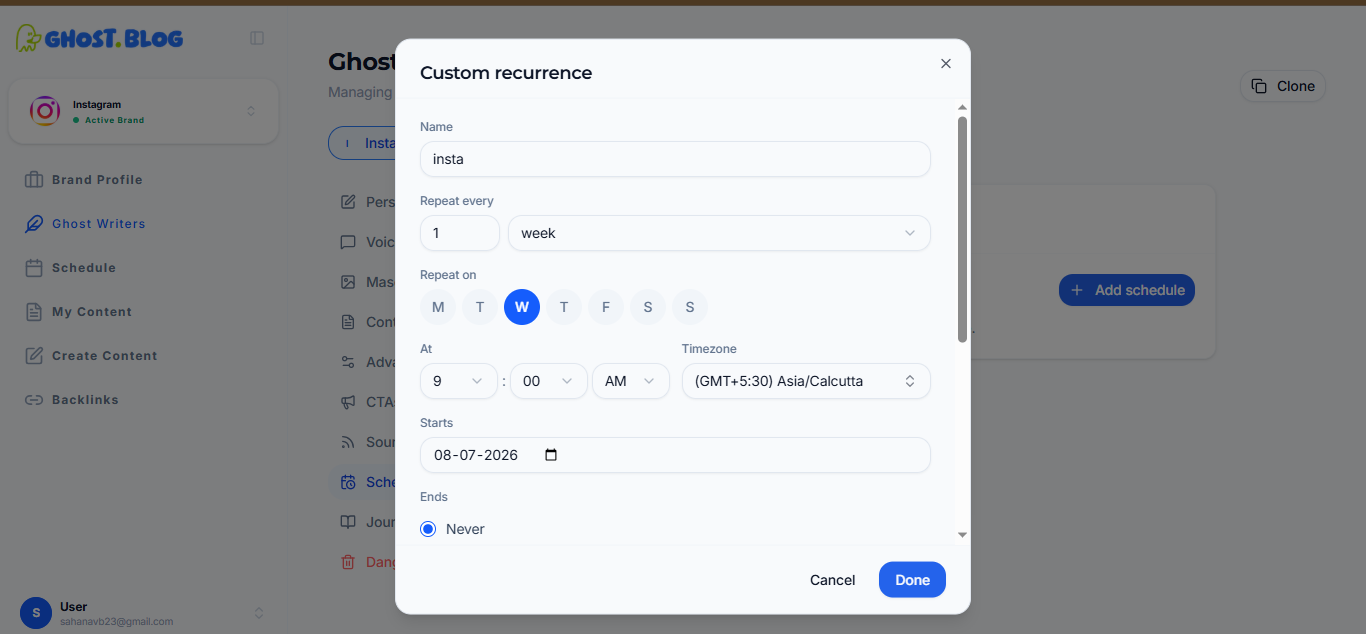
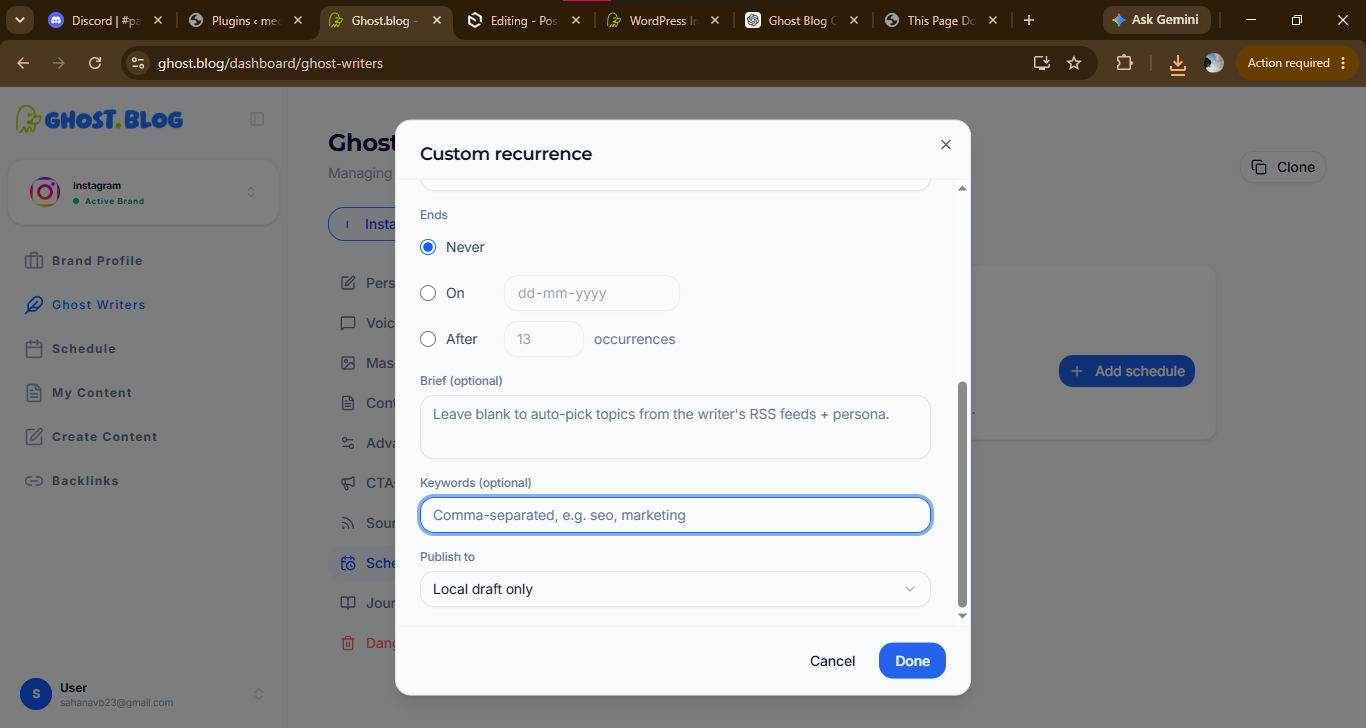
End Options
Choose one of the following:
- Never – Continue generating content indefinitely.
- On – Stop generating content on a specific date.
- After – Stop after a specified number of occurrences.
Content Options
- Brief (Optional) – Provide specific instructions or a content brief for the articles. If left blank, Ghost.blog automatically selects topics based on the writer's RSS feeds and persona.
- Keywords (Optional) – Enter comma-separated keywords (e.g., SEO, social media, marketing) to guide topic generation and improve search relevance.
- Publish To – Select where generated content should be published, such as:
- Local Draft Only – Save articles as drafts for review.
- Another connected publishing destination (if configured).
After completing the schedule settings, click Done to save the schedule.
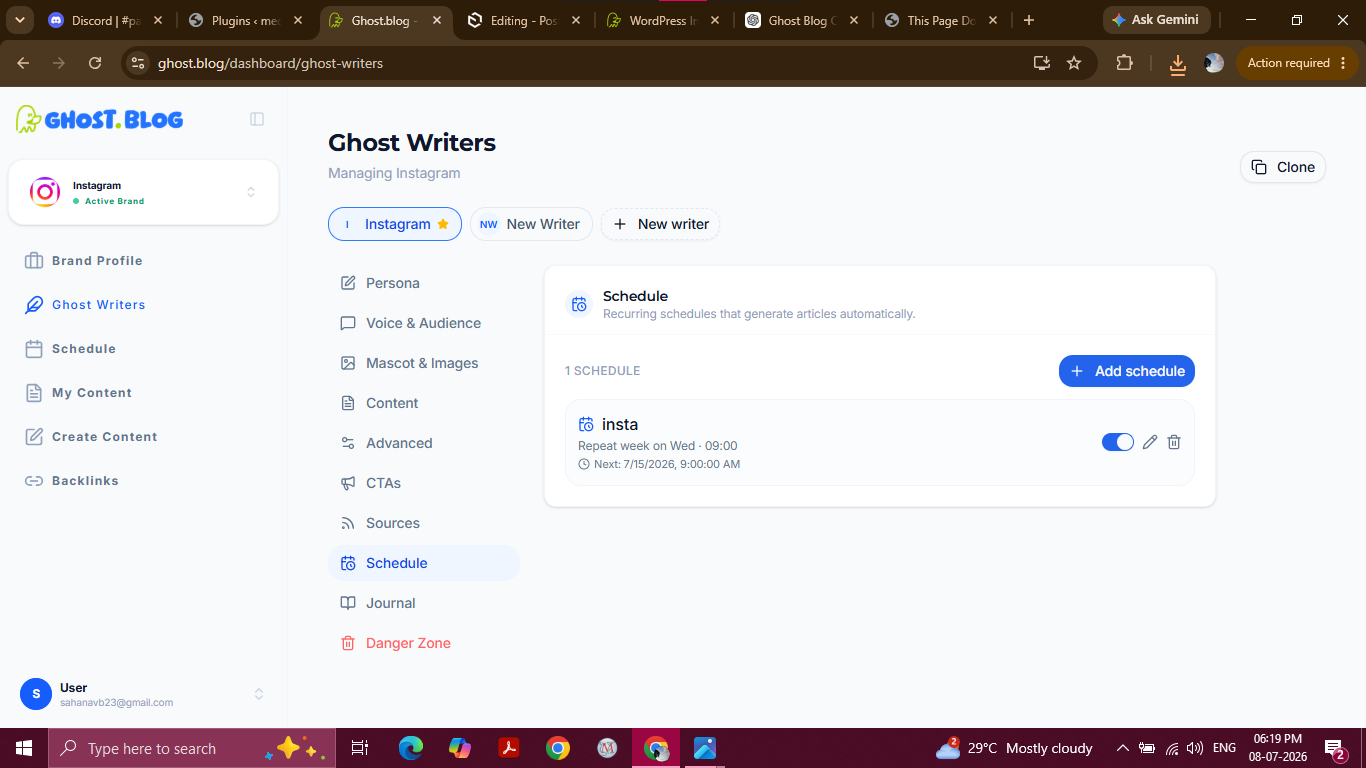
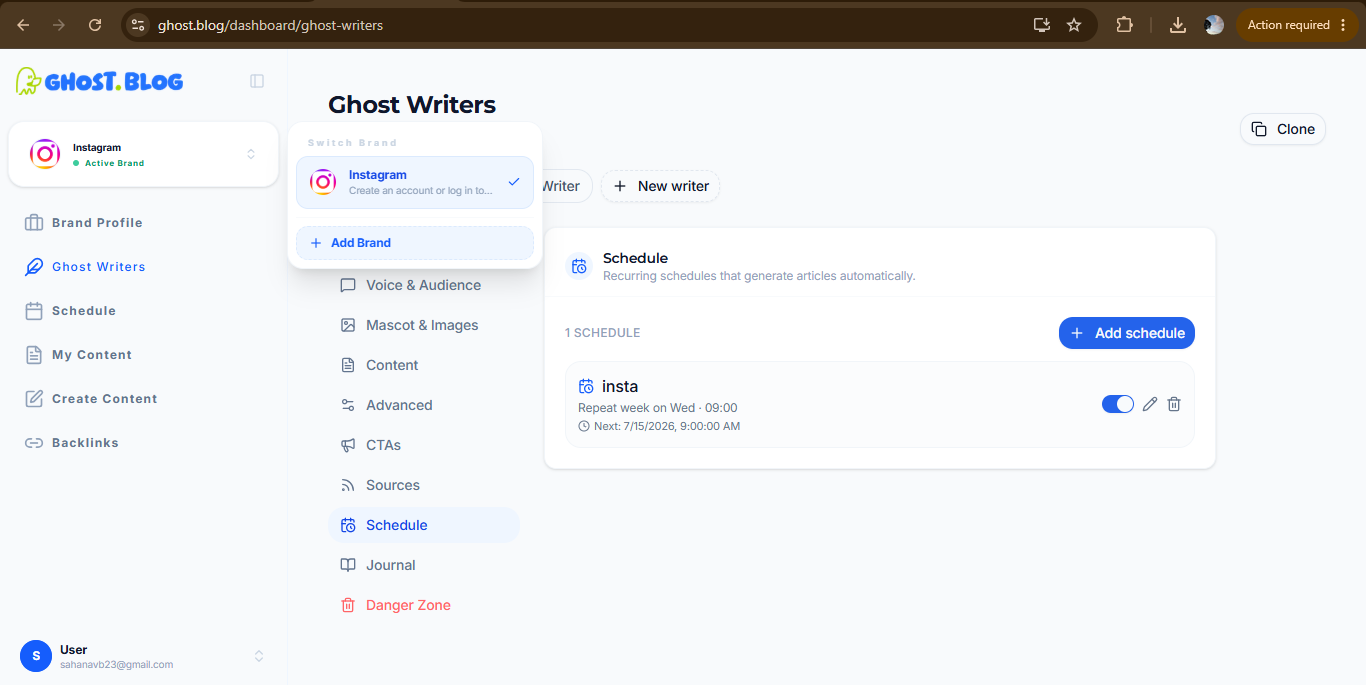
After creating a schedule, it will appear in the Ghost Writers → Schedule page.
From here, you can manage your automated content schedules using the available controls:
- Enable/Disable Schedule – Use the toggle switch to turn automatic article generation on or off without deleting the schedule.
- Edit Schedule – Click the Edit (✏️) icon to modify the schedule details, such as the recurrence, time, keywords, brief, or publishing destination.
- Delete Schedule – Click the Delete (🗑️) icon to permanently remove the schedule if it is no longer needed.
- View Next Run – The schedule card displays the next scheduled execution date and time, allowing you to verify when the next article will be generated.
Managing schedules gives you full control over your automated content generation while allowing you to update or pause schedules whenever required.
You can add this section before the Brand Profile configuration in your documentation.
Step 7: Add and Manage Brands
Ghost.blog allows you to manage multiple brands from a single dashboard. Each brand has its own Brand Profile, Ghost Writer, and content schedule.
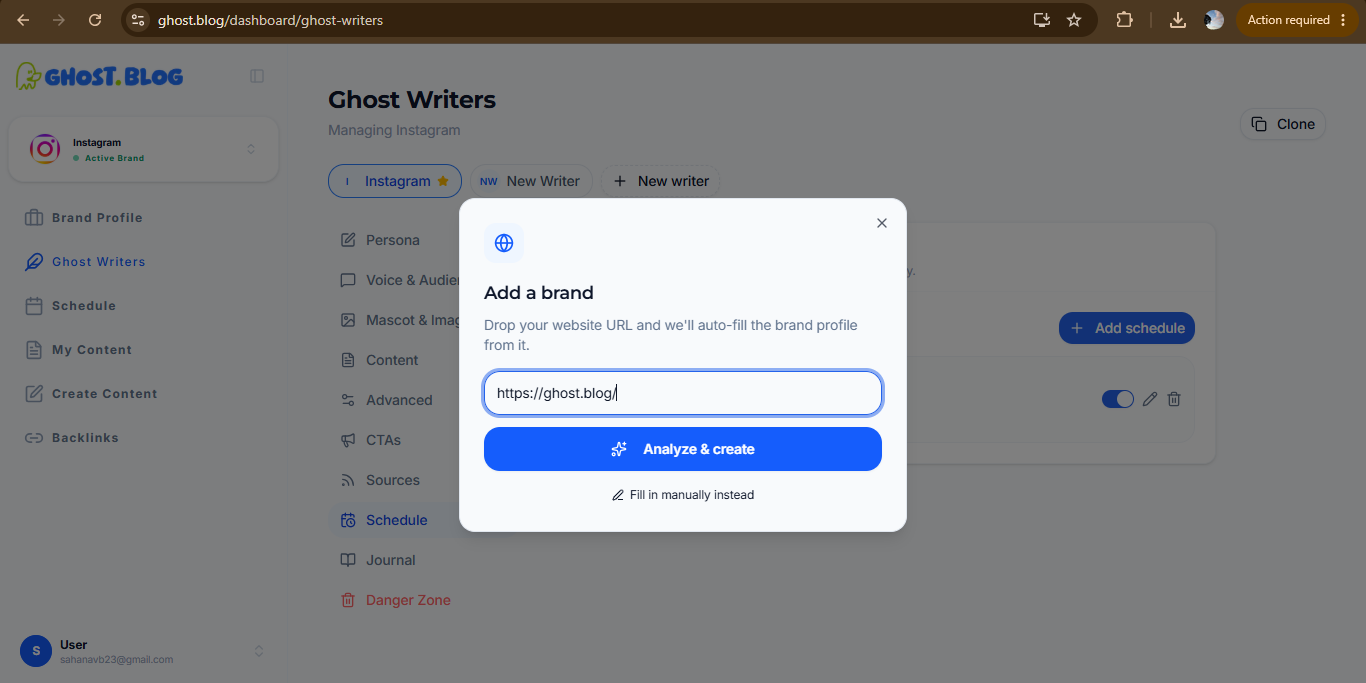
To add a new brand:
- Click the Brand dropdown in the top-left corner of the dashboard.
- Click + Add Brand.
- In the Add a Brand dialog, enter your website URL.
- Click Analyze & Create.
Ghost.blog will analyze your website and automatically fetch information such as:
- Brand name
- Website URL
- Tagline
- Description
- Logo
- Other brand details
This creates a new Brand Profile with the detected information.
Manual Setup
If you prefer not to analyze a website, click Fill in manually instead.
This allows you to create a Brand Profile from scratch by manually entering all brand information.
Customize the Brand Profile
After the analysis is complete, review the generated Brand Profile. You can modify any of the automatically populated fields, including:
- Brand name
- Tagline
- Website URL
- Description
- Logo
- Brand colors
- Mascot
- Image generation prompt
- Blacklist
This lets you tailor the Brand Profile to better match your branding requirements.
Configure the Ghost Writer
Once the Brand Profile is ready, configure the Ghost Writer for that brand by setting:
- Persona
- Voice & Audience
- Mascot & Images
- Content guidelines
- CTAs
- Sources
- Advanced settings
- Schedule
Each brand has its own independent Ghost Writer configuration.
Switching Between Brands
If you manage multiple brands, click the Brand dropdown at the top-left of the dashboard and select the desired brand.
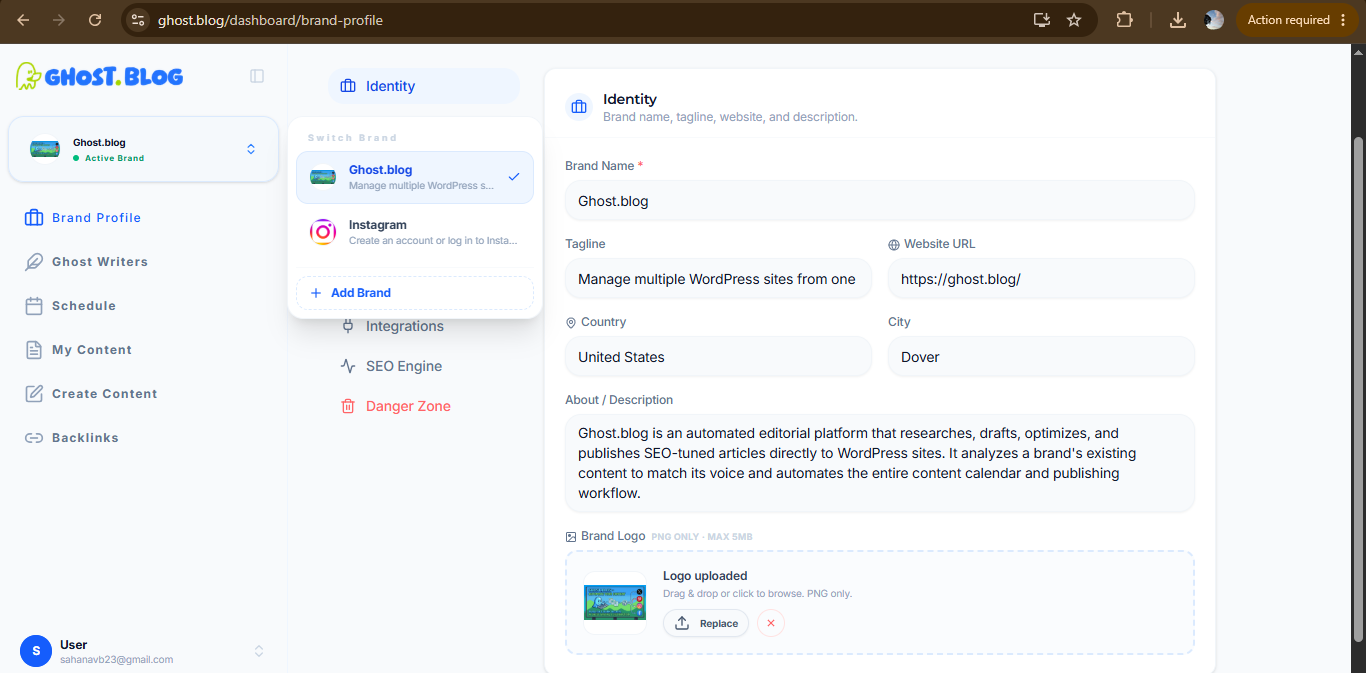
Ghost.blog allows you to create and manage multiple brands, each with its own:
- Brand Profile
- Ghost Writer
- Content strategy
- Publishing schedule
This makes it easy to manage content generation for multiple websites or businesses from a single Ghost.blog account.
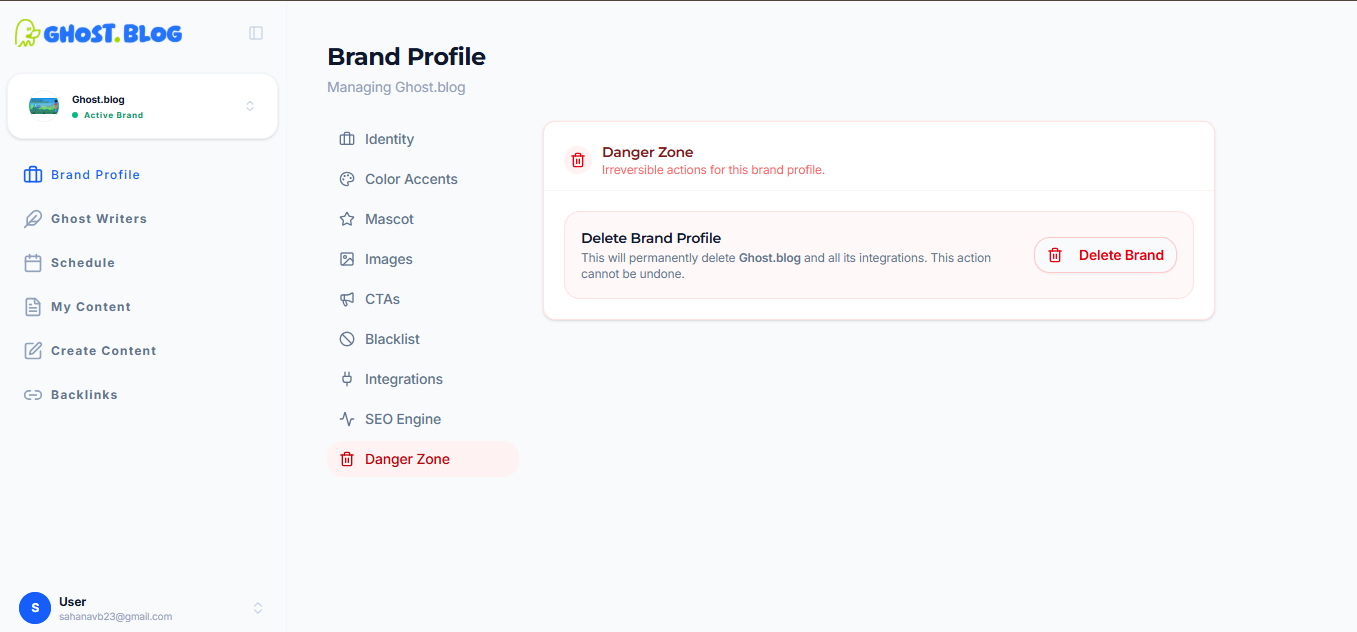
Step 8-Delete or Disconnect a Brand
If you no longer want to use a brand in Ghost.blog, you can remove it from your workspace.
Navigate to:
Brand Profile → Danger Zone
The Danger Zone contains irreversible actions for the selected brand.
To remove a brand:
- Open the Brand Profile for the brand you want to remove.
- Scroll to Danger Zone.
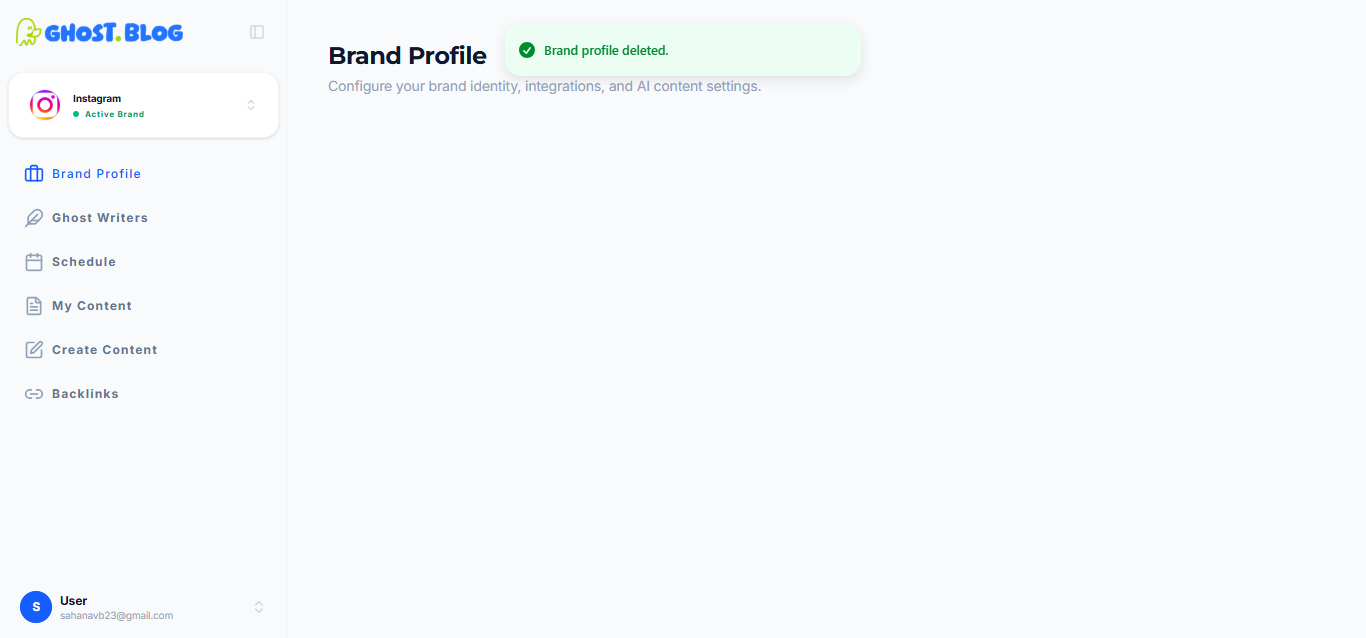
- Click Delete Brand.
- Confirm the deletion when prompted.
Troubleshooting
"Failed to authenticate"
The application password is wrong, expired, or for a different user. Generate a fresh one and try again.
"REST API endpoint not reachable"
A security plugin (Wordfence, iThemes, etc.) or your host may be blocking the WordPress REST API. Whitelist /wp-json/ or temporarily disable plugins to confirm.
Posts publishing but missing the featured image
Your WordPress user needs the upload_files capability. Editors and Admins have it by default.
Auto-publish isn't firing
Check that the integration is Active and that Auto-publish is on. With auto-publish off, posts always land as drafts.
FAQ
Do I need to be on a paid WordPress plan?
No. Any WordPress site with the REST API enabled works — self-hosted or managed. WordPress.com restricts the REST API on the free plan; the Business plan and above allow application passwords.
Will Ghost.blog overwrite or modify my existing posts?
No. Ghost.blog only creates new posts. It does not read, edit, or delete posts you authored.
Can my team review posts before they go live?
Yes. Turn off Auto-publish in your generation settings. Every post will land as a draft in WordPress until someone clicks Publish.
How are my credentials stored?
Application passwords are stored against your team's record in the Ghost.blog database and used only when calling the WordPress REST API. You can revoke them at any time from your WordPress profile, which immediately invalidates the connection on Ghost.blog.
Can I use Ghost.blog without a WordPress site?
Yes - you can generate content in Ghost.blog and copy it manually. But scheduled auto-publish requires a WordPress integration.
Ready to connect your first site? Open your Brand Profile in Ghost.blog and add an integration.